
Before & After: A Whimsical, Nature-Inspired Bedroom Refresh

Cozy, bright, and nature-inspired are just a few words that came to mind when we first laid eyes on this stunning before and after project. With a little help from the experts at Miller Paint, opens in a new tab, Schoolhouse Senior Editor, Elizabeth, decided to transform her son's bedroom into a creative space that exudes effortless elegance and charm.
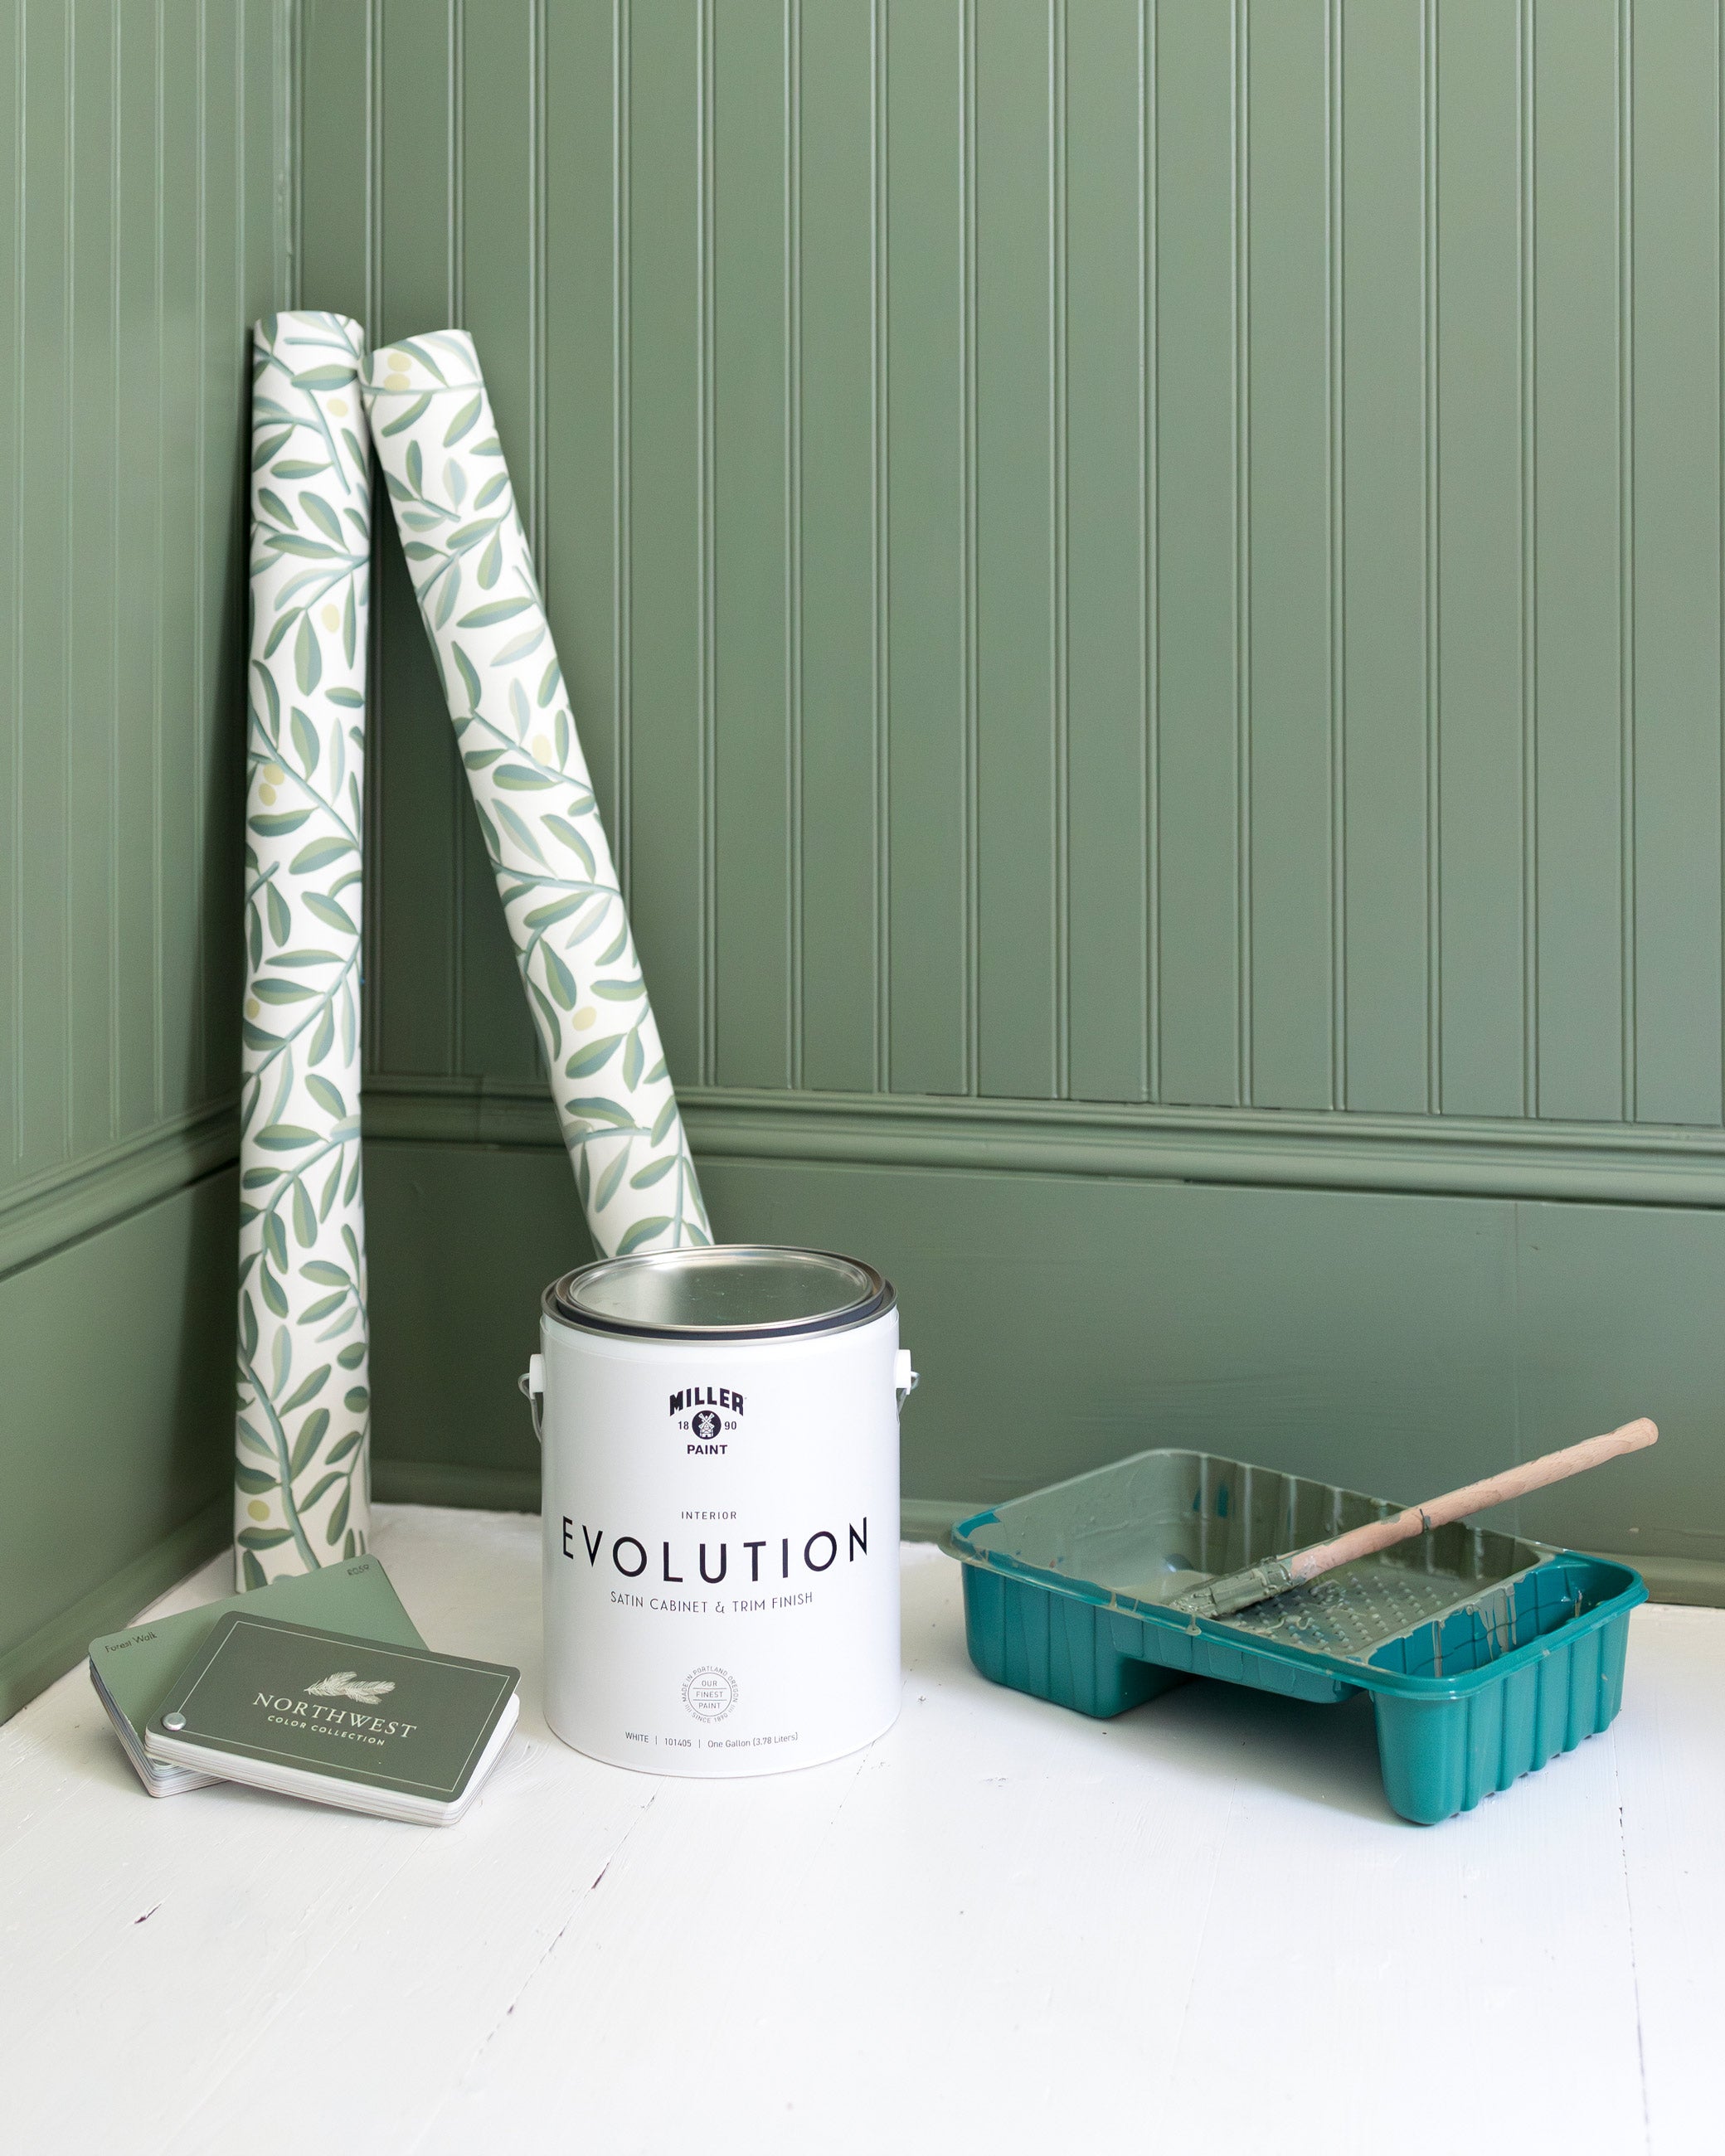
Through the creative use of wallpaper, the most perfect hue of green, Forest Walk by Miller Paint, opens in a new tab, and a wainscoting DIY project, this bedroom went from sweet and simple to beautifully bold. Below, we chat with Elizabeth about what inspired the initial design, and asked Miller Paint to share their tips and tricks for painting wainscoting so that you can make this magic happen in your own home.
[article-products row_number="0" products_per_row="4"]
What inspired the initial makeover?
We had been looking to transition my son into a big kids bed so I took the opportunity to update his room to reflect his growing interests. I grew up moving around a lot (every six months until I left home at seventeen). My parent’s worked for a non-profit so we were often crammed into a studio or one bedroom apartment as we shifted from place to place. I’m incredibly grateful for my upbringing, but the one thing I felt I lacked was a space that was all my own. All this to say, interiors have always been elusive and important to me. Orson’s room is a tangible reflection of my values—that the little things are the big things and you’re never too young to enjoy a beautiful environment.


[article-products row_number="1" products_per_row="4"]
What’s your favorite part of the finished design?
The Olive Grove Wallpaper, opens in a new tab + Forest Walk, opens in a new tab paint combo. I realize wallpapering, bead-boarding, and painting a toddler's room may seem like a lot to some, but I knew that the amount of joy it would bring would be well worth it. Sometimes you just have to have fun with it.
I’ll add that my husband and I agreed that if Orson ever grows out of the wallpaper, we would swap the office and his room so that the wallpaper and bead-board could stay up forever.
Also, the little details like the wooden dinosaur that I purchased from one of my favorite local shop's Merci Milo, opens in a new tab ( Fun fact: I get a different animal every year as a birthday cake topper. My hope is to gift them all to Orson later as a fun family heirloom that he can keep or pass down!).


[article-products row_number="2" products_per_row="4"]
If you had to choose three themes that inspired this project, what would they be?
This is easy to answer, because Orson honestly picked the themes! I had asked him to choose three things that he wanted for his room and he said “red, cozy, and dinosaurs.”
Red: First and foremost, I wanted the space to reflect Orson’s interests. When I asked him what kind of big kid bed he wanted, he told me he wanted a red bed. I know there are race car themed red beds out there, but I also knew he might grow out of it pretty quickly so I opted for a simple bed frame that I could paint.
Cozy: I essentially wanted the entire room to feel like a giant cozy corner where Orson could let out any feelings. I filled the room with an explosion of patterns and colors that he picked and filled it with lots of stuffed animals collected over the years. We also keep a low shikifuton in the corner that can fold up into a makeshift couch so that I can hang out, nap, or drink my coffee while he’s playing.
Dinosaur: My three year old has been fascinated by dinosaurs for about a year now. I knew that eventually he would grow out of it, but I wanted to create an inspiring environment based on his interests. The color palette and pattern of the Olive Grove wallpaper and Forest Walk paint reminded me of something that could be a dinosaur habitat.

We’d love to hear more about the Schoolhouse picks you chose for this space. What are a few of your favorites?
Stillwater Floral Quilt, opens in a new tab: Every photoshoot since we launched this quilt, I had been thinking about making the purchase, but couldn’t justify it because I didn’t need it. I thought about it so much that my friend who is also my coworker purchased it for Orson’s room. It meant so much to me. Every time I look at it I’m reminded that there are wonderful people in the world and in my life and it just fills me with an overwhelming sense of gratitude.

[button label="Shop Stillwater" url="hhttps://www.schoolhouse.com/products/stillwater-floral-quilt?variant=40753363157036" style="primary"]
Teig Lamp, opens in a new tab: I try to be extra selective with my purchases since I’ve worked at Schoolhouse for eight years. It was certainly love at first sight when I saw the lamp, but what really got me to make the purchase was hearing our Product Designers talk about the design and how it came to be (which is a very wholesome story that involves my favorite carb—freshly baked bread). The detail and love that has been poured into this product is unmatched and it shines through in the finished product.
That, and actually getting to see it in real life. The way the shade rests on the light, the tactile on and off click of the lamp, the soothing glow, and quality of light that feels like a mini personal sunset signaling that the day is over. It has become part of Orson’s bedtime routine, and I love that I get to share bits of my work and the joy of beautiful design with him.

[button label="Shop Teig" url="https://www.schoolhouse.com/products/teig-lamp?variant=40753355522092" style="primary"]
Utility Stool, opens in a new tab: You start to appreciate this handy helper more and more over time. If you’ve been waffling on getting one, just do it. I use it, my toddler uses it, my husband uses it, and no doubt it will be one of those quality keepsakes that will be a core memory for my children because of how versatile it is (when my son was about a year old, he used it as a drum and then it became the perfect height to play with his magnets, eat snacks on, and now he finally uses it as intended…although I loved it when it was a drum the most!).

[button label="Shop Utility Stool" url="https://www.schoolhouse.com/products/schoolhouse-utility-stool-10?variant=39424115146796" style="primary"]
Get the Look: How to Paint Wainscoting Like the Pros

SUPPPLIES:
- Blue painter’s tape
- Drop cloth
- 2 1/2” angle brush
- Paintable caulking
- 200 grit sandpaper or medium/fine sanding sponge
- Dust mask
- Spackling paste
- Foam or shed-resistant mini roller
- Paint tray
- Soft rags
- Primer
- Paint in Satin or Semigloss finish
PREP:
- Protect the floor by putting blue painter’s tape along the bottom of the baseboard. Cover with drop cloth .
- Clean surfaces to be painted with mild cleanser or TSP to remove oils and contaminants.
- Patch any nail holes using spackling paste.
- Sand spackle residue using 220 grit sandpaper or a fine/medium sanding sponge. Wear a dust mask for protection.
- Degloss any shiny surfaces to ensure proper adhesion of the topcoat. A bonding primer may be required for surfaces previously painted with oil-based paint.
- Vacuum dust from walls.
- Caulk any cracks or seams with paintable caulking. PRO TIP: cut tube at an angle with a 1/8” opening. Use a damp cloth to wipe any excess caulking.
PAINT:
- When painting beadboard, it is important to work from top to bottom.
- Start by painting the top lip of the wainscoting using the 2 1/2” angle brush. Watch for drips and if they appear, use a dry brush to wipe.
- Roll paint onto the beadboard in long, even strokes in a V-shape with the foam or shed-resistant roller.
- PRO TIP: Paint out a 2-3’ section. Before the paint starts dry, use your brush to do a finish stroke by puling the brush from the top of the beadboard to the bottom. This will remove any roller stipple texture and create a high quality, hand-painted look.
- Wait until the beadboard is dry to the touch to begin painting the baseboards.
- Using the angled tip, draw a line with the brush along the top edge of the baseboard to help prevent pooling paint.
- Finish painting the face of the baseboard with the brush.
- Apply 2 coats if needed.
FINISHING TOUCHES:
- Allow paint to dry to the touch before removing the painter’s tape.
- PRO TIP: Pull tape away from the painted surface, not into it, to break the seal and make a clean line.
- Clean brush and tools with warm soapy water.
[button label="Shop the Paint" url="https://www.millerpaint.com/northwest-color-collection/" style="primary"]