Simple How-To: Swapping Out Hardware

In this guest post, Chelsea Mohrman of the Farm Fresh Therapy blog takes us through one of the easiest and most rewarding fixes for your favorite vintage finds: swapping out the hardware. While many know Schoolhouse for our lighting, we also offer a broad collection of hardware for projects like this, with styles that range from traditional to modern and everywhere in between.
A few months ago, after moving into our new home, I checked out an estate sale in my neighborhood. Our neighborhood is filled with late 1940's and early 1950's Ranch- and Cape Cod-style houses that were built as part of a planned community for soldiers returning from the war and their families. Some of the homes in the area still house the original owners, which means you can often find a time capsule of vintage furniture in the home it was bought for.
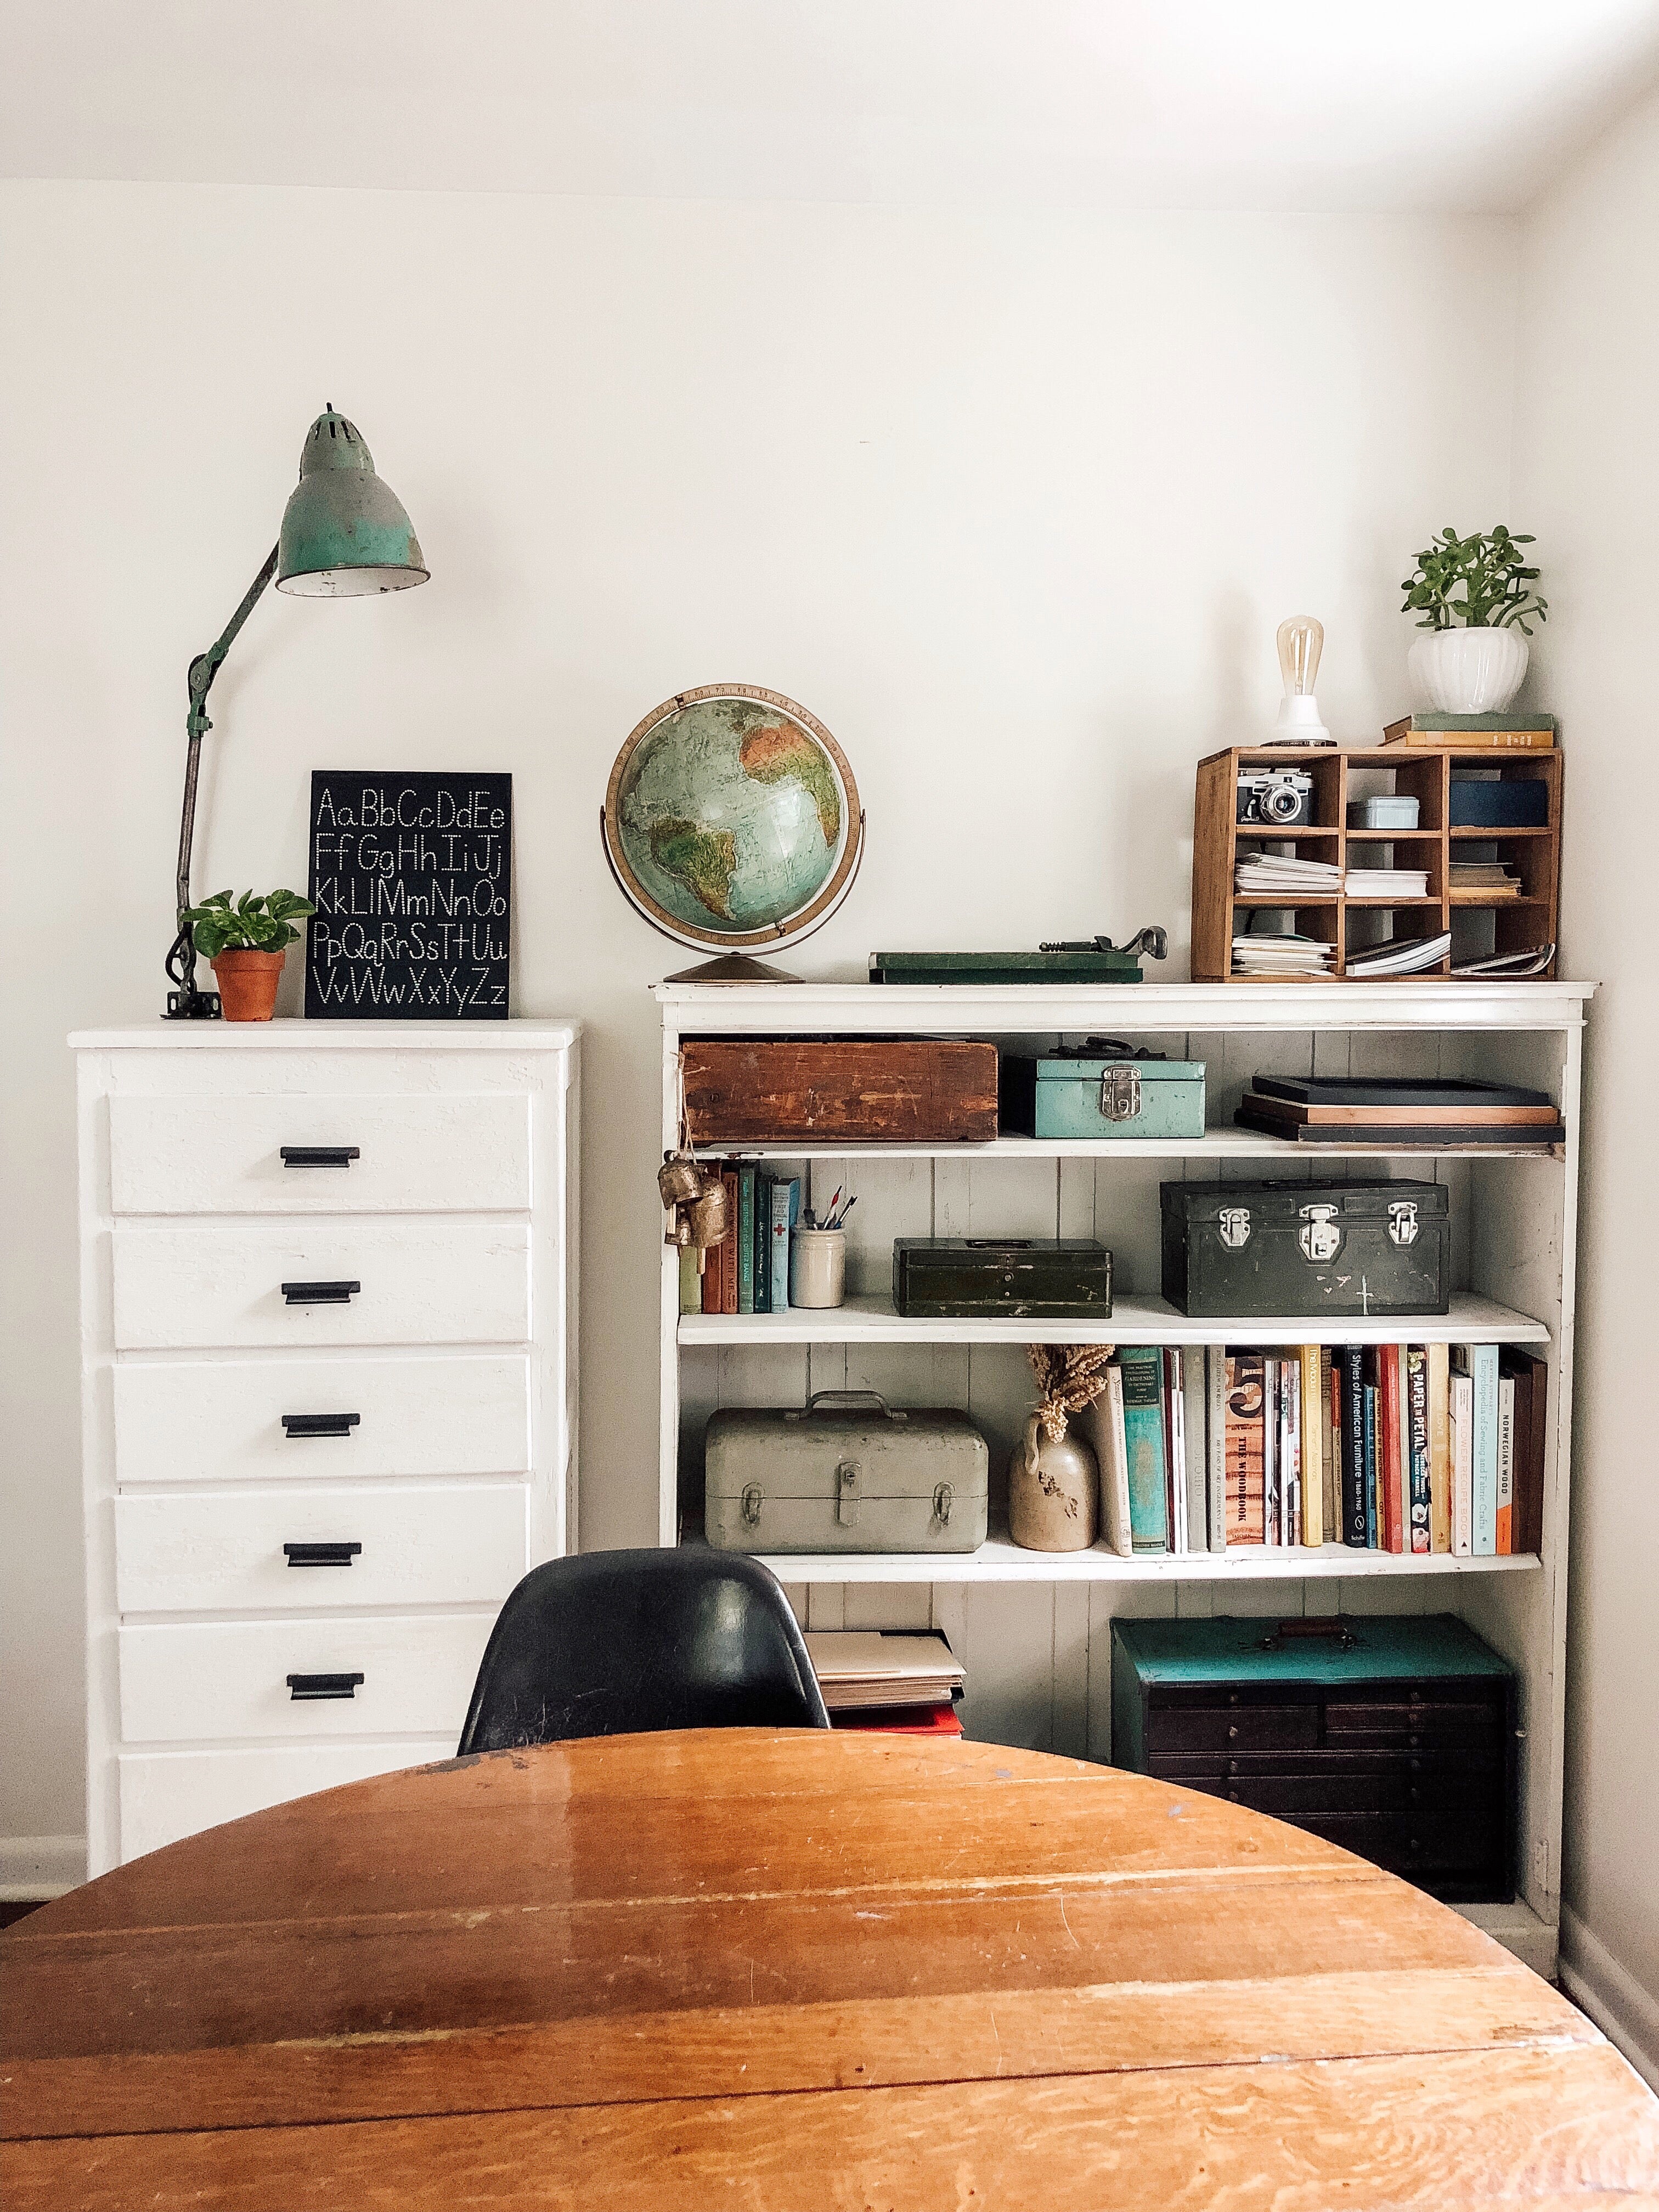
Based on the period and condition of most of its furnishings at this estate sale, it was clear the home belonged to the original owner. While exploring the basement, I happened upon this incredibly dusty and paint-chipped dresser. Although it obviously needed some TLC, it had a lovely character, so I peeled off the price tag and purchased it.

After digging the dresser out of the basement and bringing it home, my husband cleaned off the dust with an air gun and painted the entire piece from top to bottom with white furniture paint. I used it for about a month in my studio as an art supply dresser for my kids, but I had trouble getting the filled drawers to slide easily with the original pulls. The paint was a major improvement, but the dresser still needed something.
The solution came later when, in the process of updating my studio, I spotted these amazing Card File Pulls from Schoolhouse. I knew they would be the perfect update to the piece. Once the pulls arrived, swapping them out took only 30 minutes and was the perfect weekend project. If you have a piece of vintage furniture you want to give new life, follow these simple steps.
Supplies:
-
New hardware
-
Power drill
-
Drill bit sized for the new hardware (13/64ths, in our case)
-
Phillips-head bit or screw driver
Step 1:
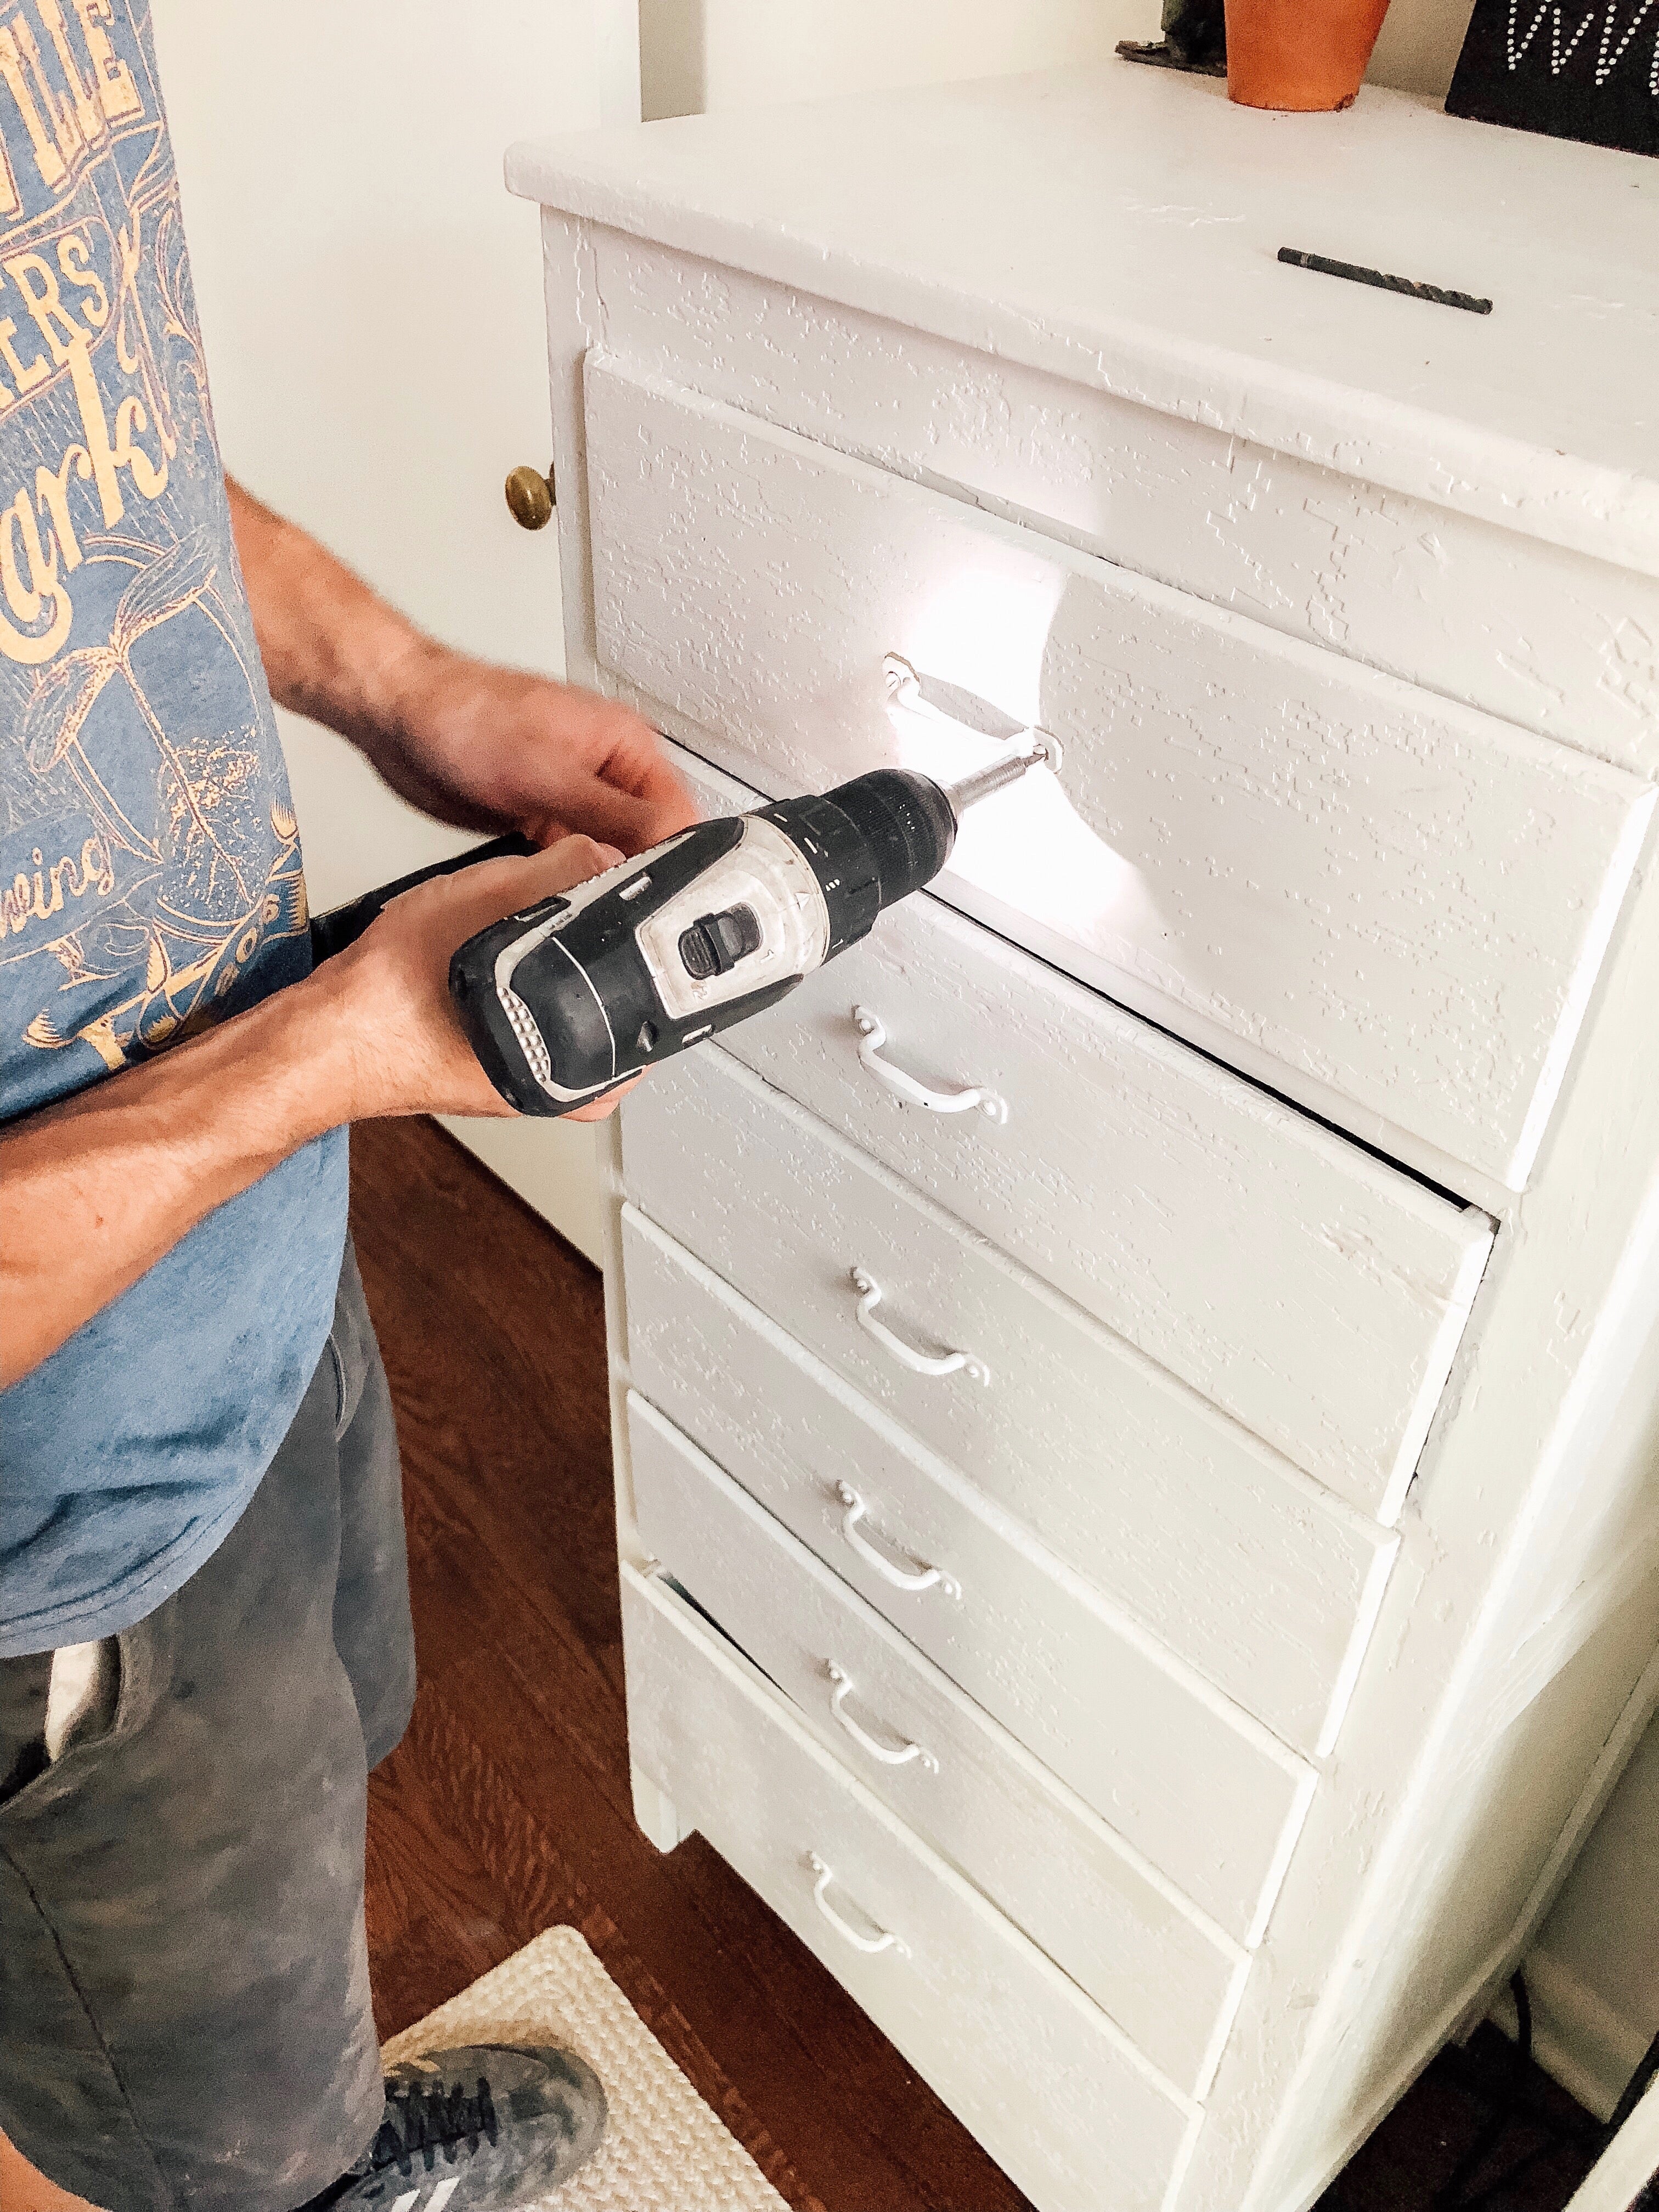
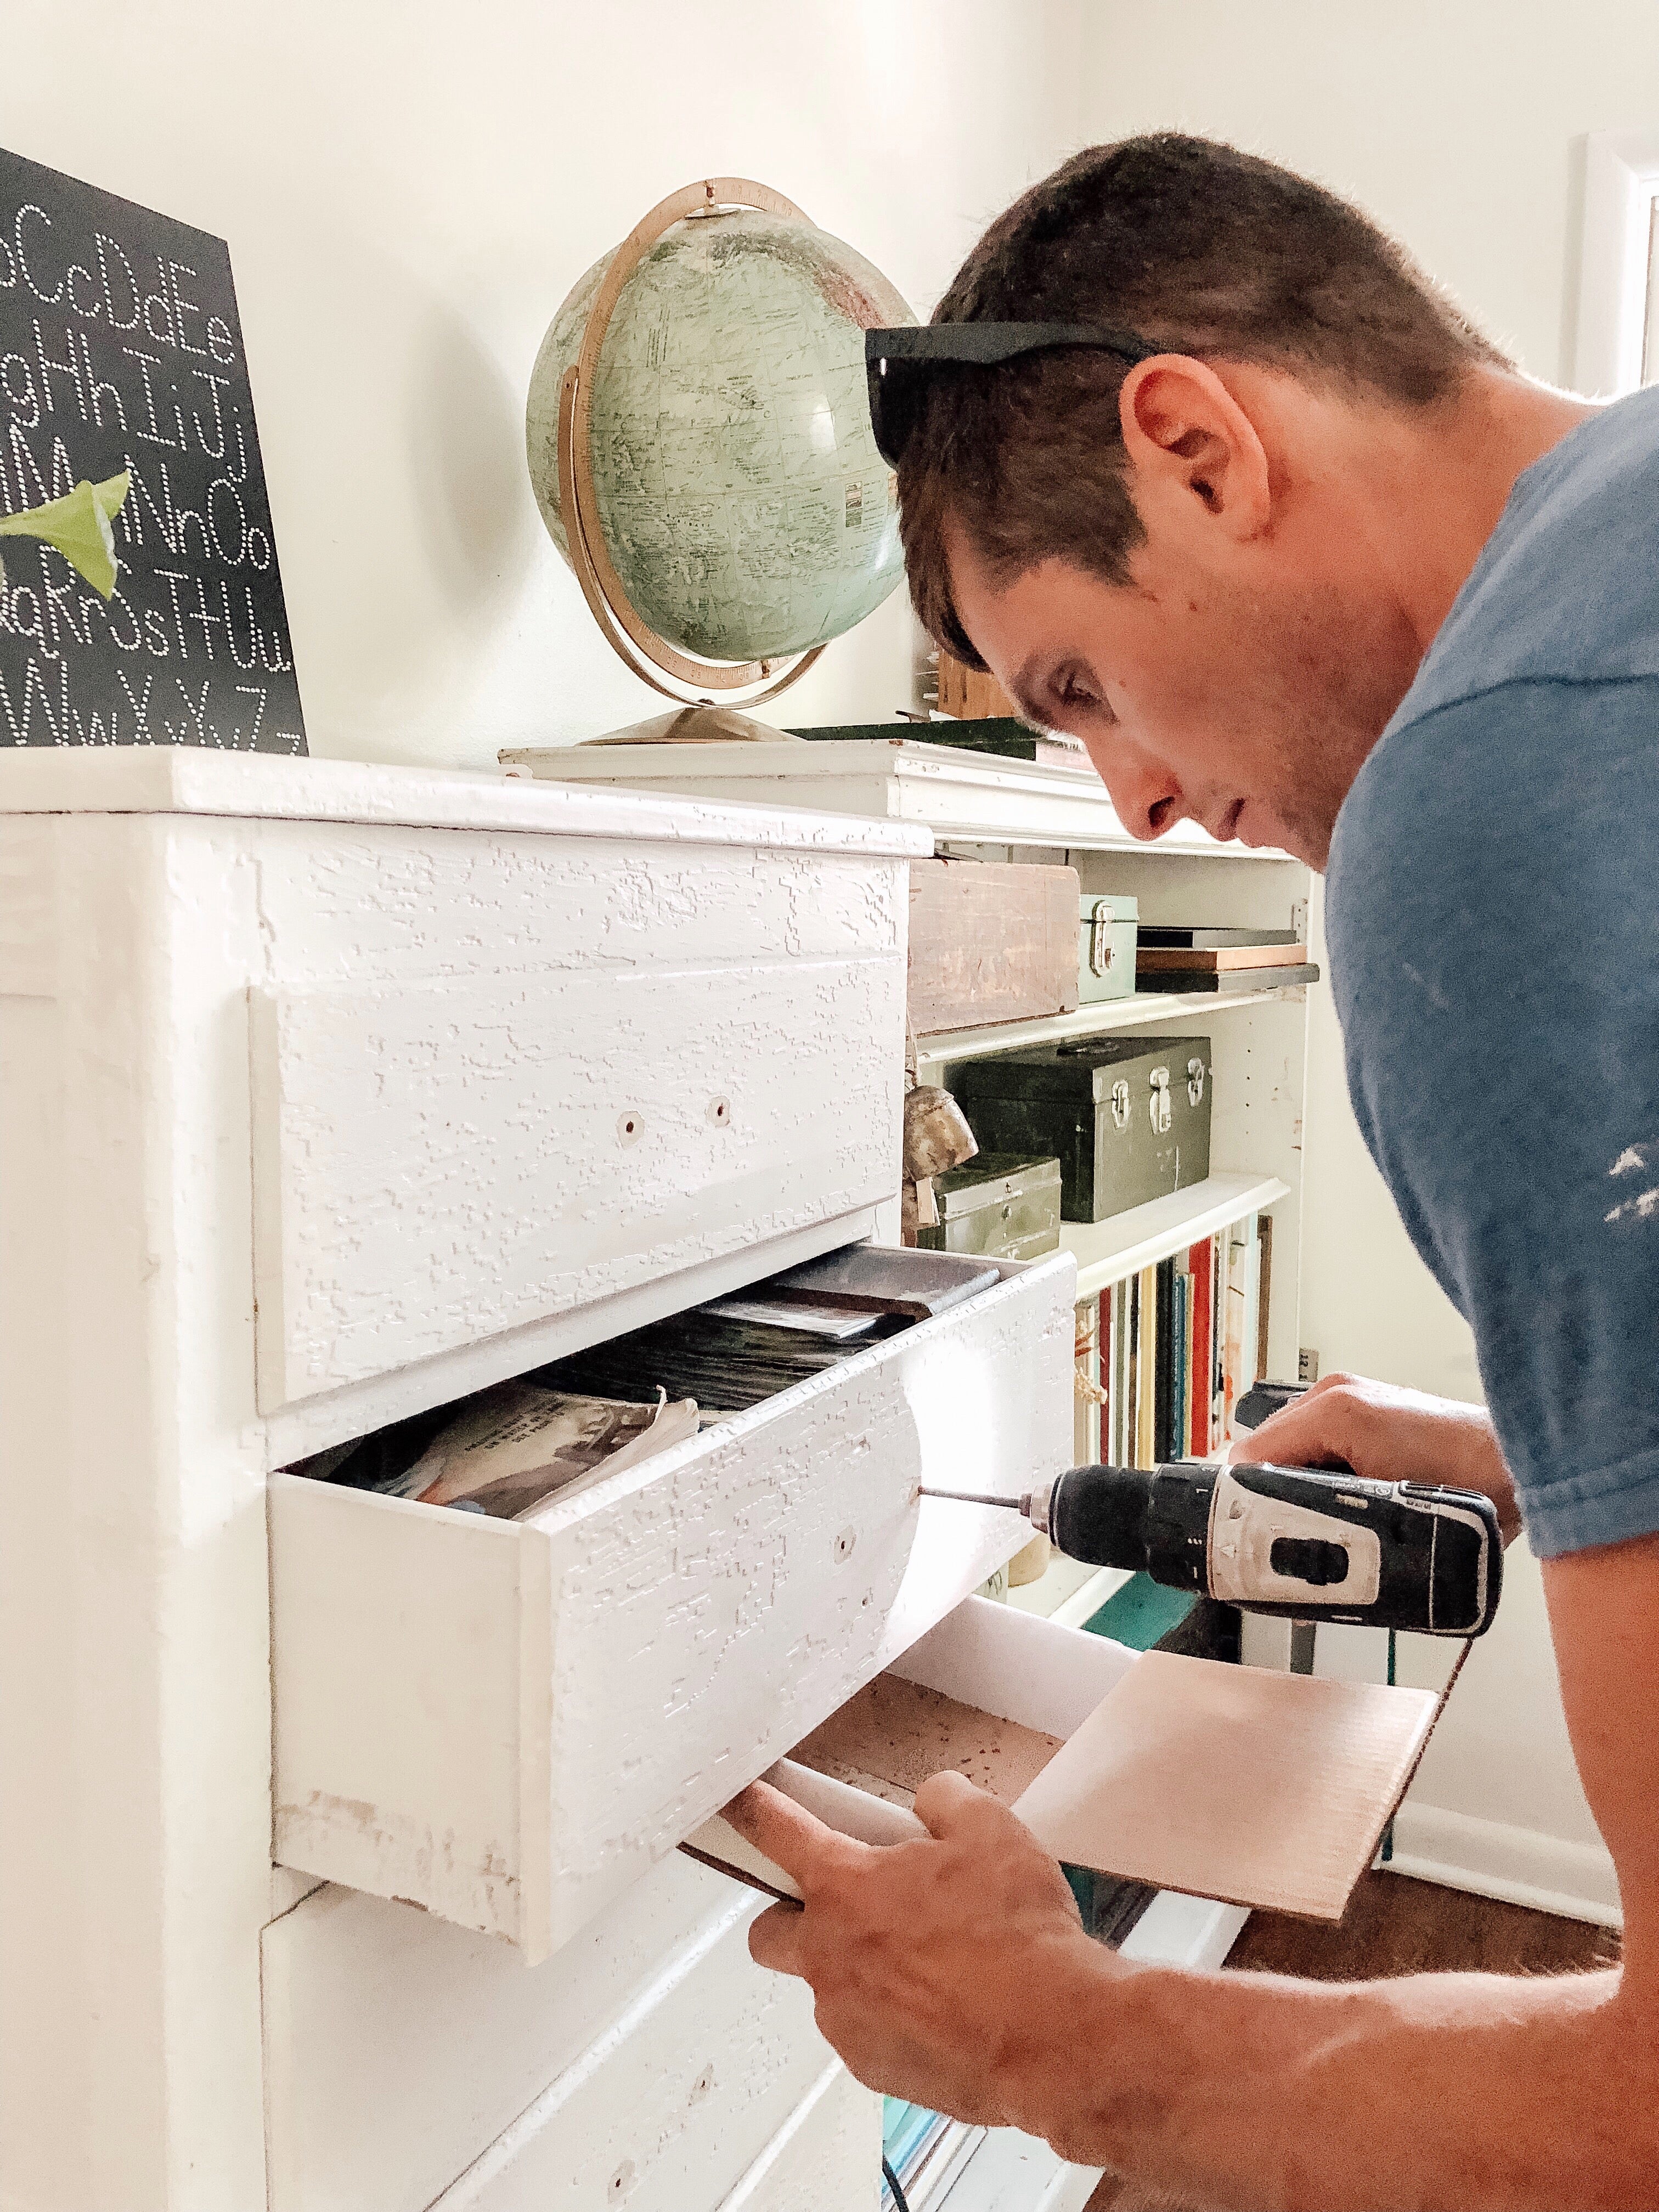
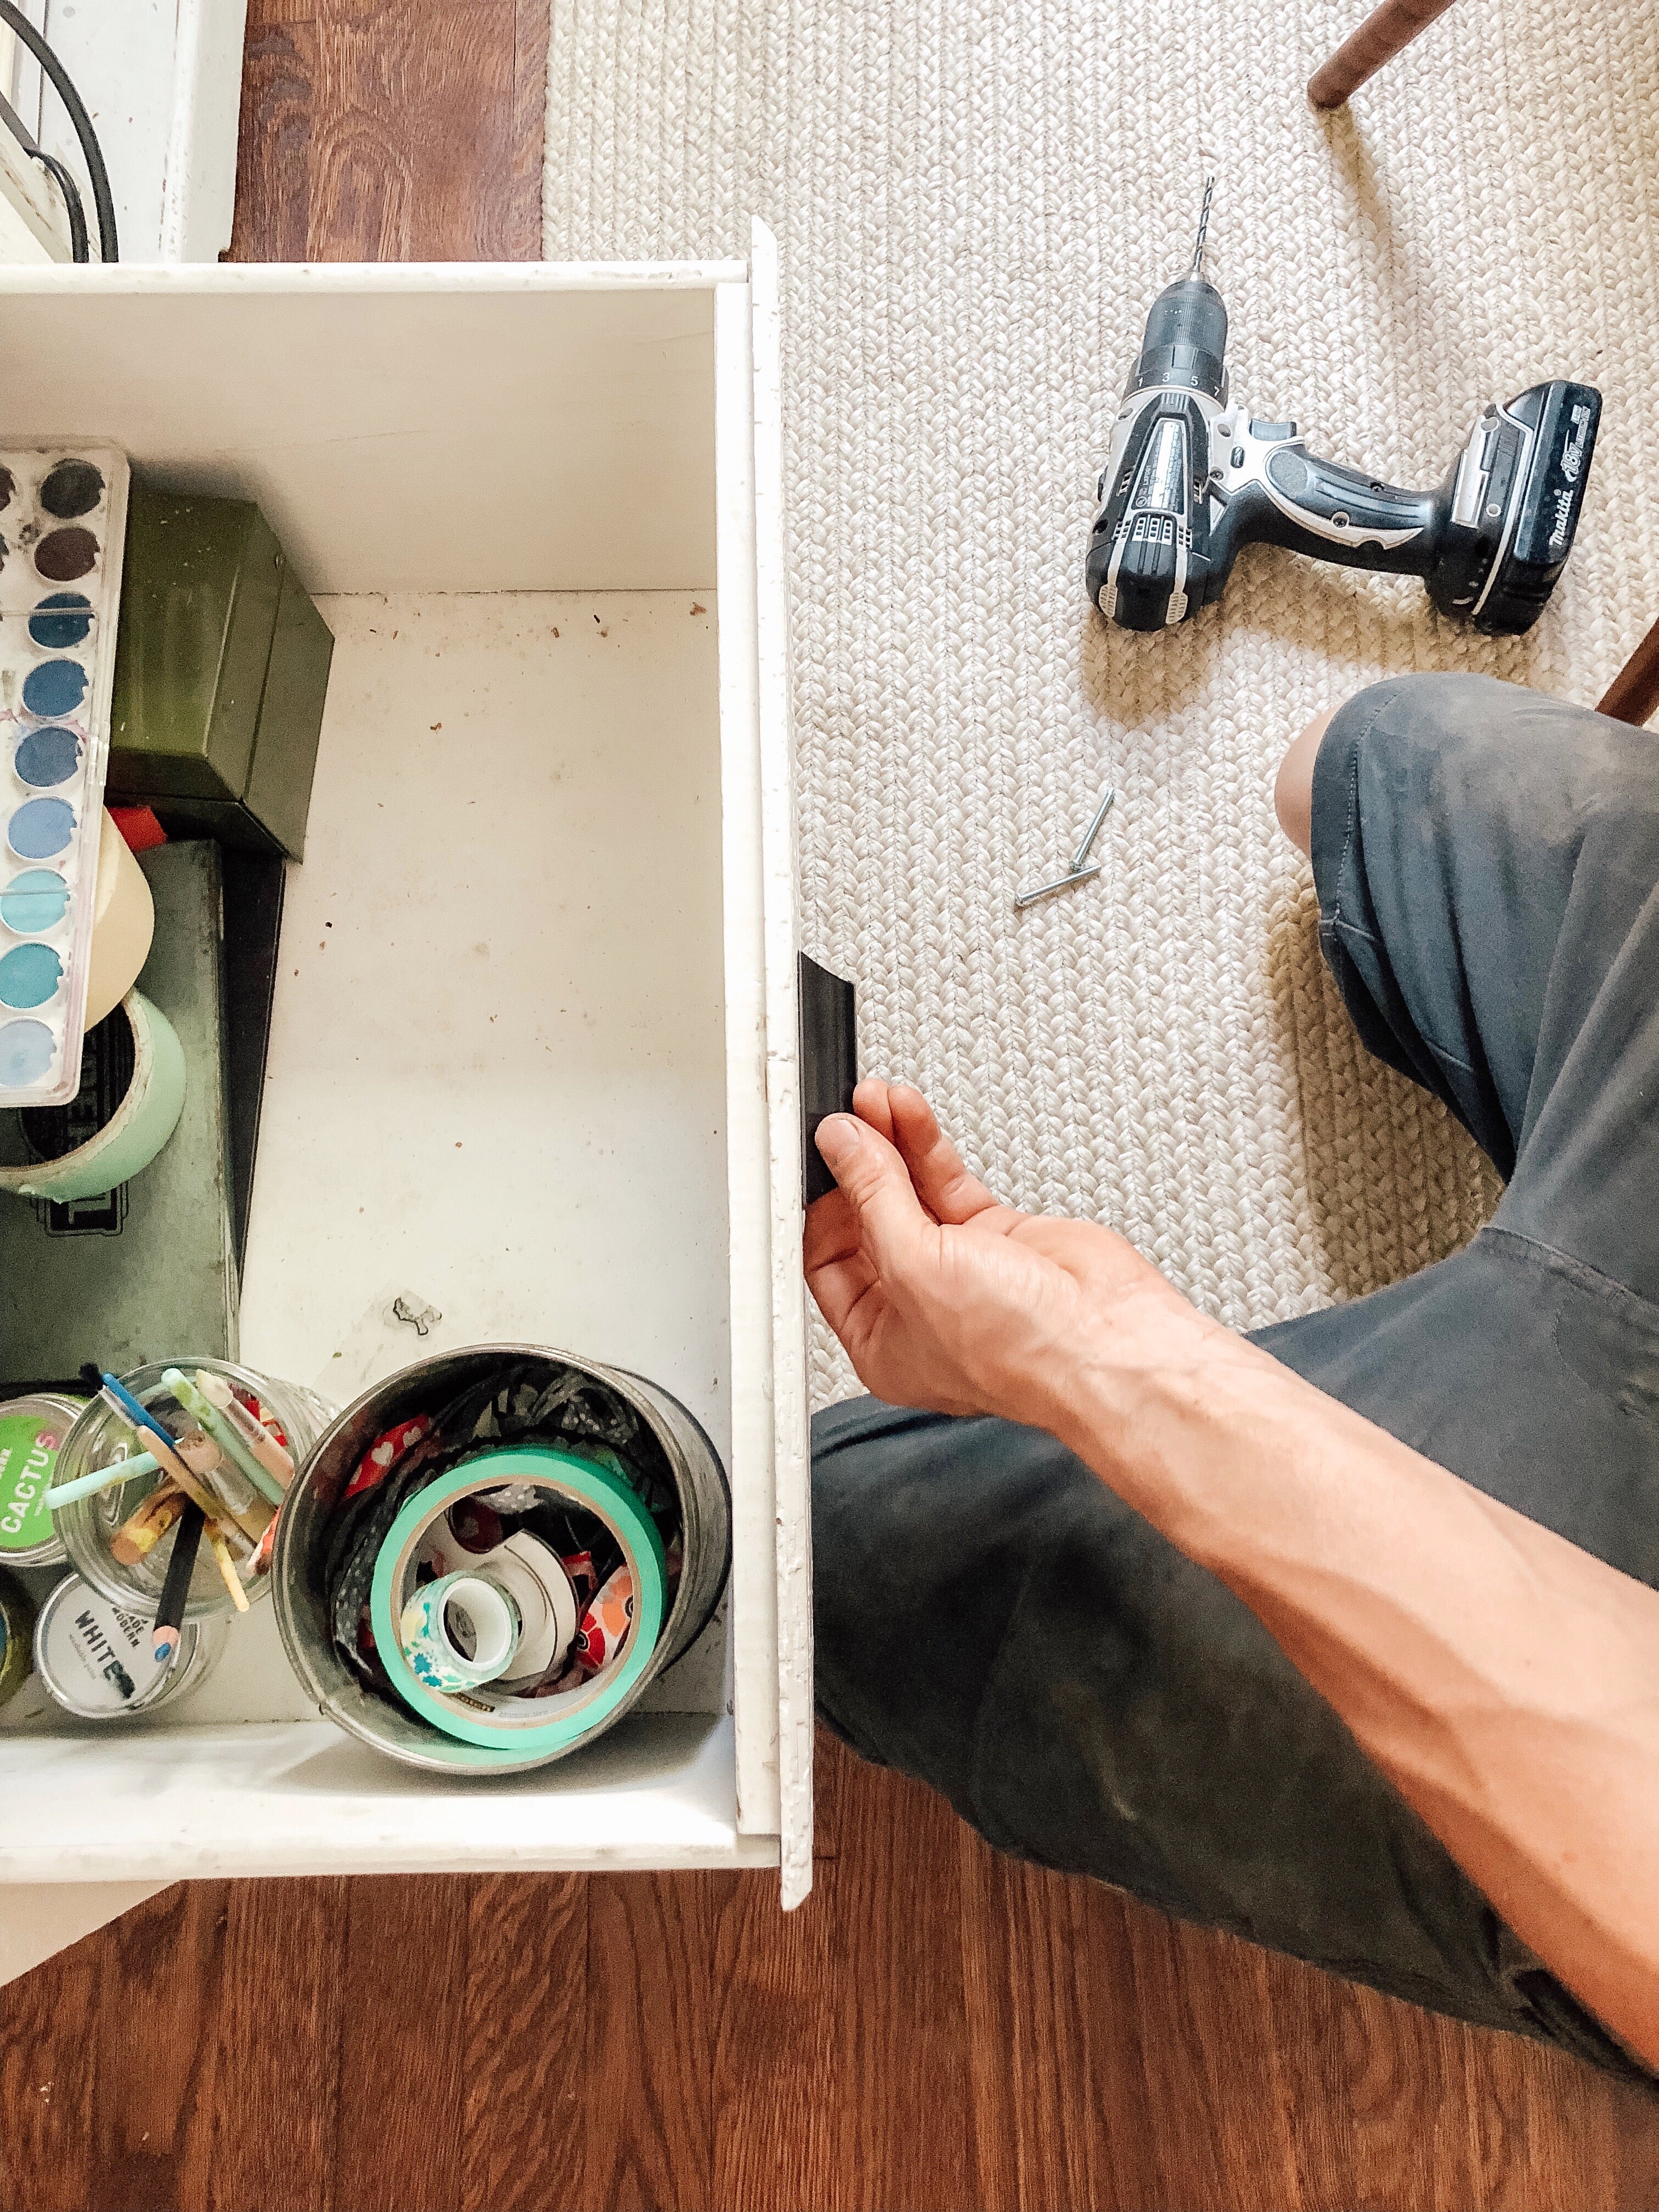
Remove the existing knobs. For us, this meant unscrewing the knobs from the front, as they were drilled right into the wood of the dresser. Some types of hardware are screwed in from the back, though.
Step 2:
Drill through each hole with your 13/64ths drill bit, or whatever bit correlates in size to the thread of the screws you will use to attach the new knobs. You can skip this step if the existing mounting holes will accommodate your new hardware.
Step 3:
Attach your new knobs with the provided hardware. You can use your screw driver or drill with a Phillips-head bit to easily drive the screws through the backside of the drawer face and into the new knobs. Just make sure to start the screws on a low speed or thread them by hand at first to avoid cross-threading the screw in the new hardware.

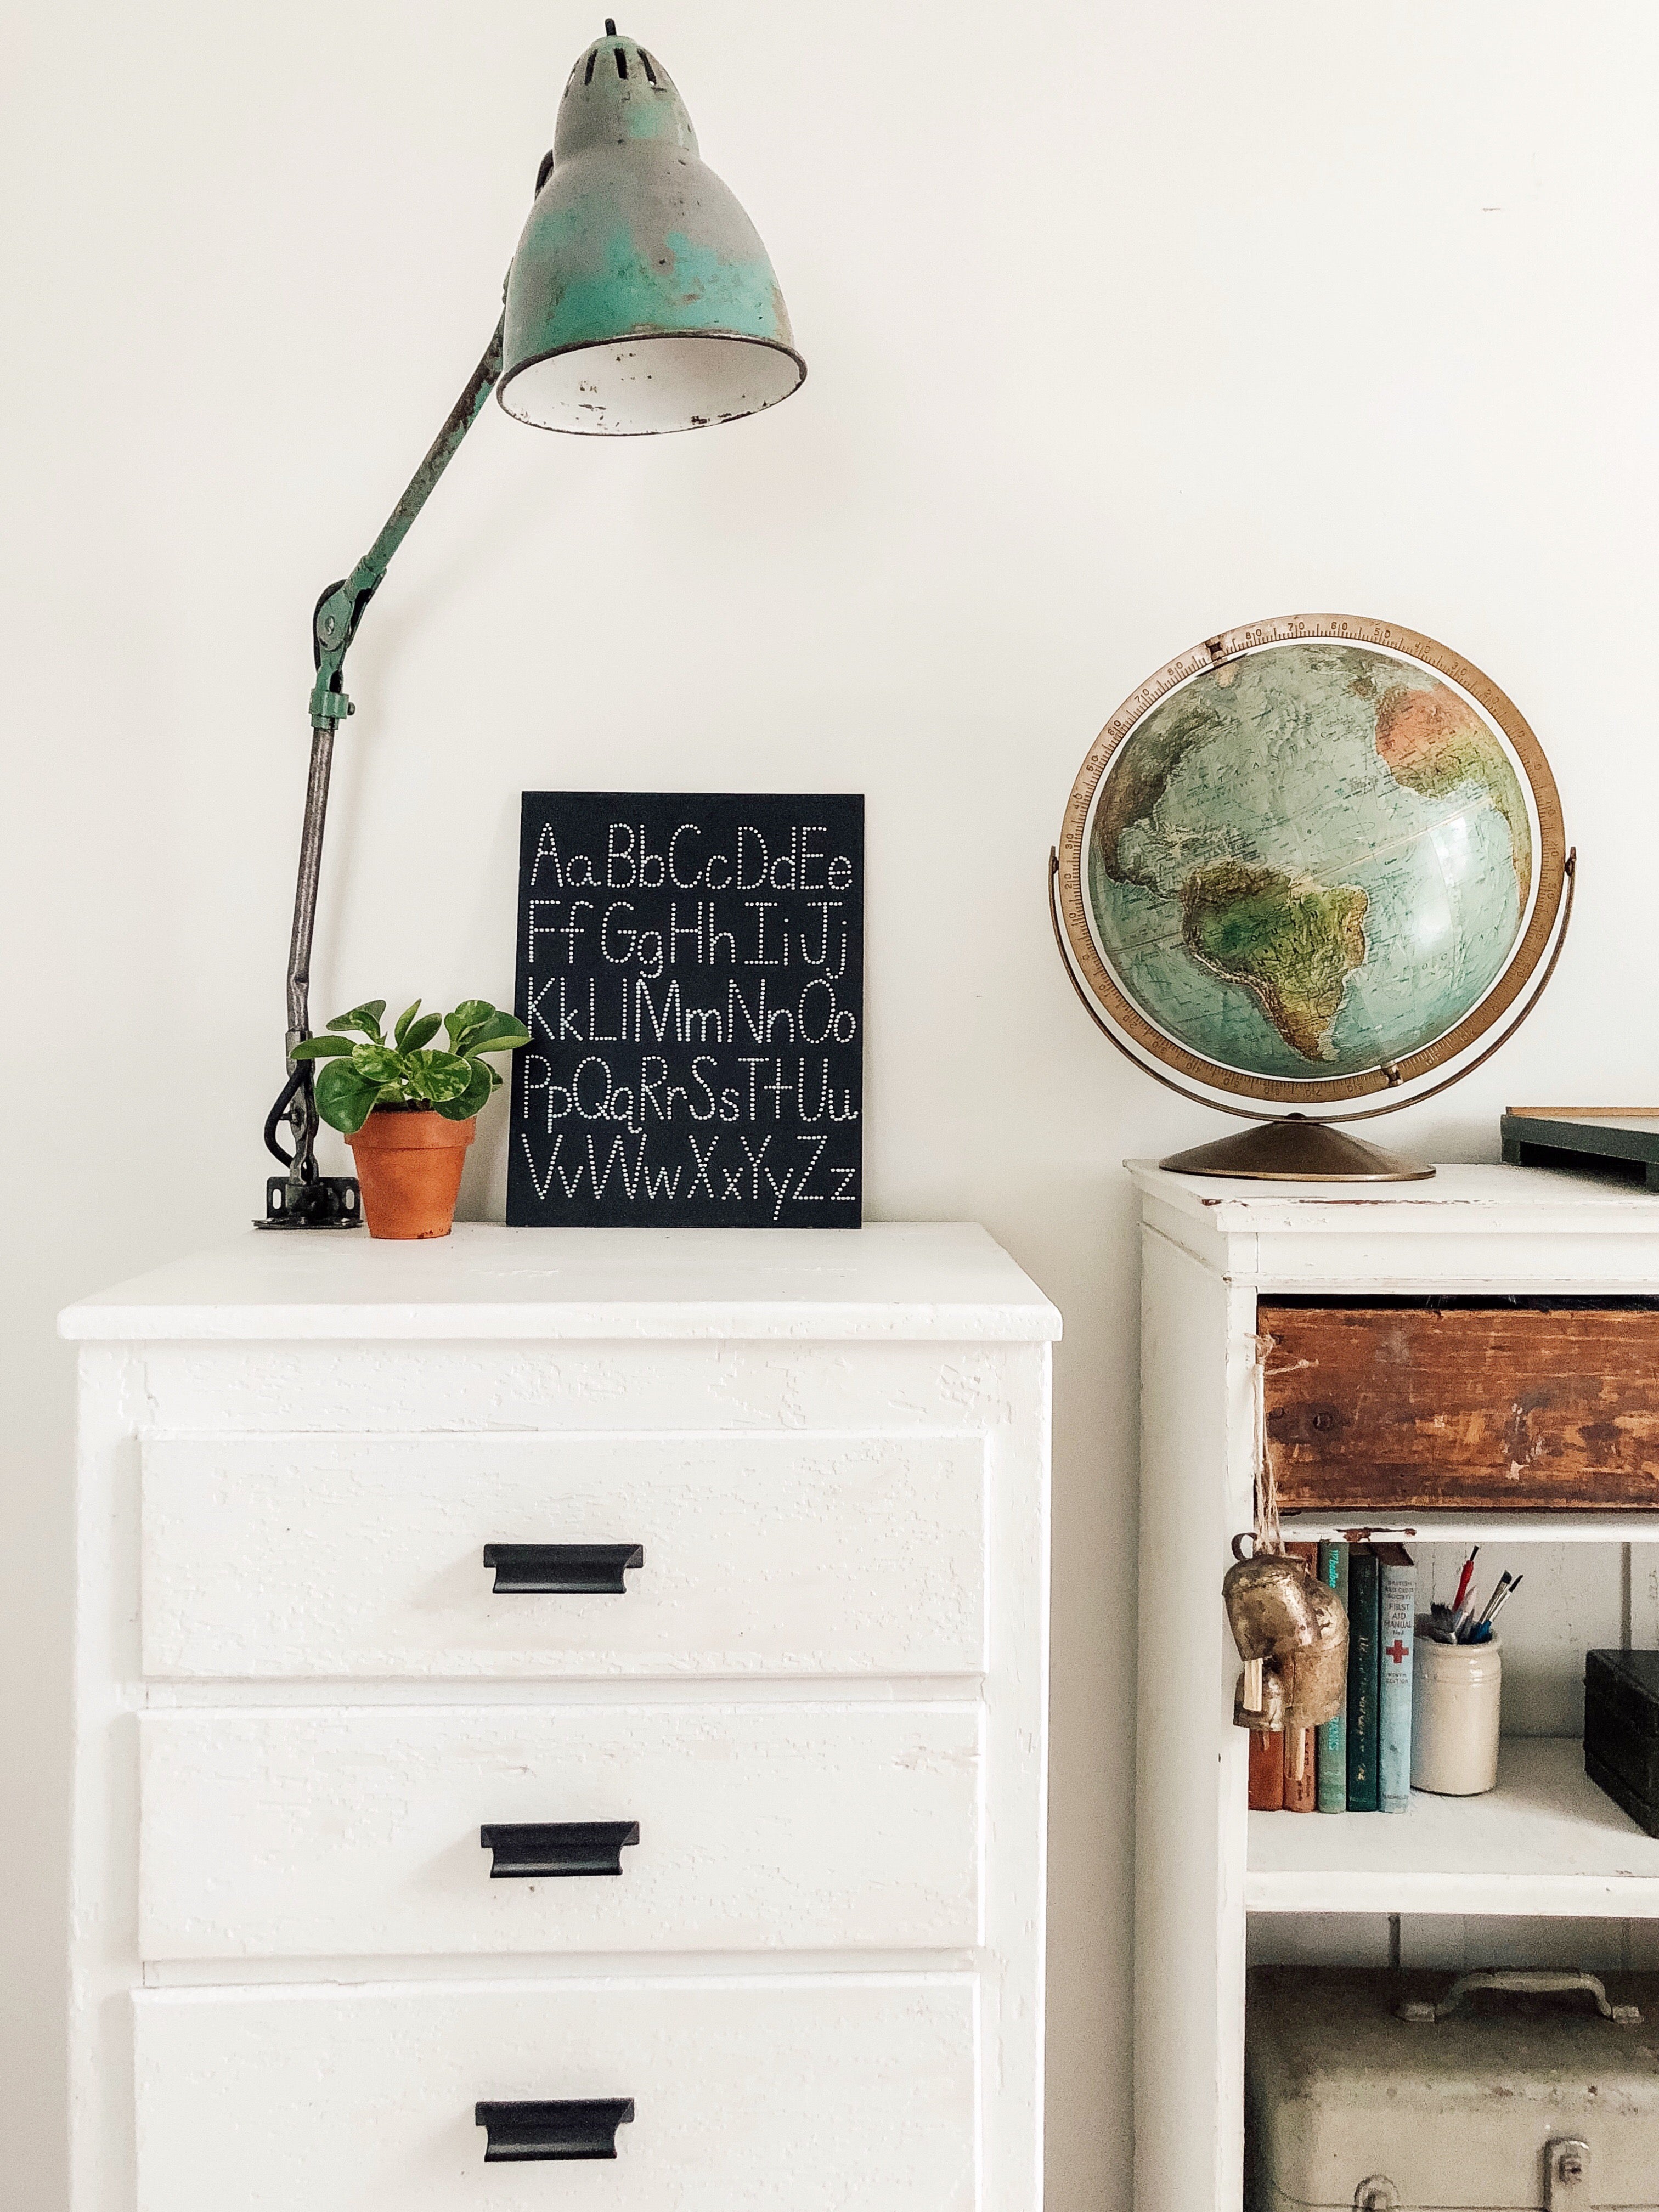
That's it! The process was super easy, even with drilling out new holes for hardware. It’s even easier if the knobs you are removing use the same hardware system as the ones you are installing. I’ve been very pleased with the results of this quick update.
These new knobs made the drawers quite a bit sturdier. Opening and closing the drawers is now much easier—especially for those little hands that need to reach their crafting gear. Plus, the new hardware really ties together the storage furniture with the rest of the room. It’s truly amazing how much of an improvement a hardware refresh can be for a piece of furniture and the room it occupies.
Photography by Chelsea Mohrman


